Newborn Baby Beanie Hat (Free Crochet Pattern + Video)

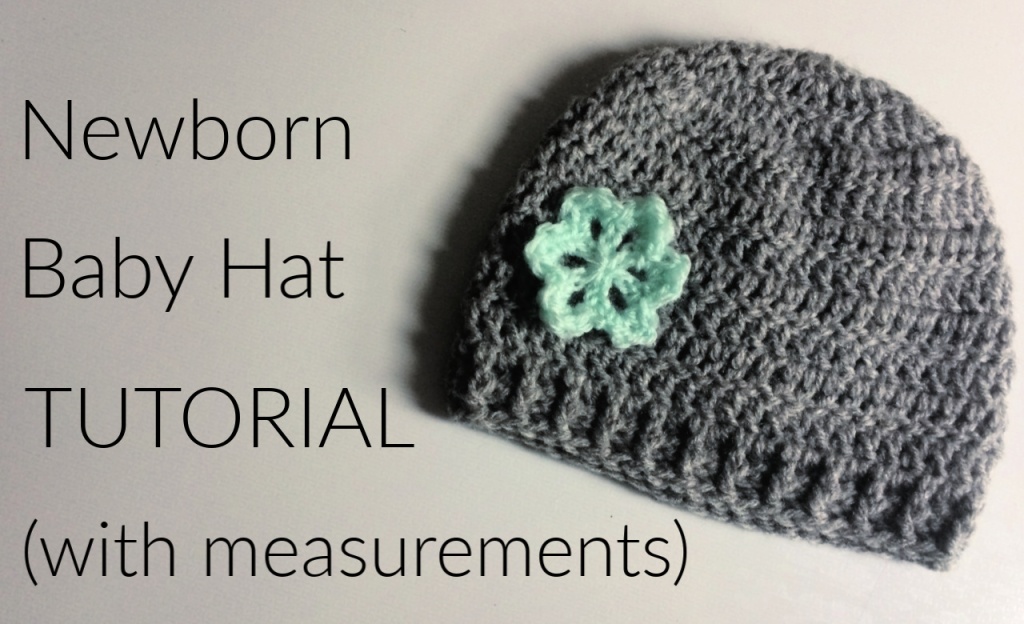
This is the written pattern to go with the video tutorial on my YouTube channel for the crochet newborn baby beanie hat. This hat is sized to fit approx age newborn, or up to a 14.5″ head circumference. I hope it is easy to follow. I have tried to write it up as beginner friendly as possible because this is a perfect first project. It works up quickly and only uses a few stitches so it is a good way to get some practice but still have something wearable for your baby at the end. This hat makes a fantastic new baby gift aswell.

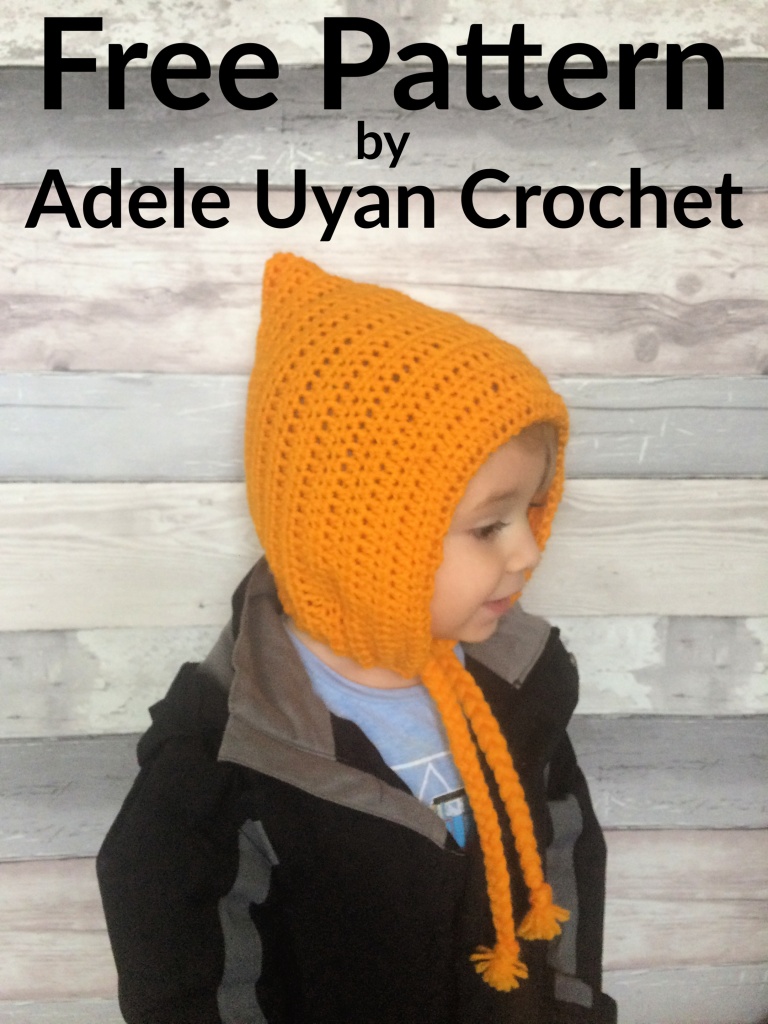
Newborn Baby Beanie Hat (Free Crochet Pattern)

To make this hat you will need a 4.5mm crochet hook and some double knit yarn. I used light grey and mint for the contrasting flower. You will also need a tape measure, a yarn needle and some scissors.

Gauge: At the end of round 4, your hat should measure 3.9″ in diameter. The finished length should be 5.25″.

You will use the following stitches:

ch – chain

dc – double crochet

slst – slip stitch

st – stitch

fpdc – front post double crochet

bpdc – back post double crochet

Hat:

1. make a magic loop, ch3, work 11dcs in loop, join with slst in top of ch3 (12)

2. ch3, turn, dc in same st as ch, work 2dcs in each st around, join with slst in top of ch3 (24)

3. ch3, turn, dc in same st as ch, *dc in next st, 2dcs in next st* repeat from *-* around, end with dc in last st, join with slst in top of ch3 (36)

4. ch3, turn, dc in same st as ch, *dc in next 2sts, 2dcs in next st* repeat from *-* around, end with dc in last 2sts, join with slst in top of ch3 (48)

5-12. ch2, turn, dc in same st as ch and around, join with slst in top of 1st dc (48)

13. ch1, turn, *fpdc, bpdc*, repeat around, join with slst in top of 1st st

14. bind off and weave in ends

Flower:

1. make a magic loop, ch1, work sc in loop, *ch4, work sc in loop*, repeat from *-* four more times, ch4, join with slst in top of 1st sc

2. ch1, turn, work sc, hdc, dc, hdc, sc into each petal chain space around, join with slst in top of 1st sc

3. bind off and weave in ends, attach flower to hat

I hope you find this free pattern useful and make a baby beanie hat of your own. Please let me know if you do make one so I can see your amazing work. You can tag me on social media (@adeleuyancrochet) or better still why not join our Facebook group so we can all see!

Processing…
Success! You're on the list.

Braided Pixie Hat (Free Crochet Pattern)

Is it even possible for a child to wear a pixie hat and not look the cutest they’ve ever looked? This pixie hat will keep little ears warm and can be tied to make sure it won’t fall off (or be pulled off).

This pattern should be suitable for beginners.

This pattern was originally for 3-10 years, but I decided to add instructions to make the hat to fit 0-1 years aswell. You can easily size up or down as needed to get the look and fit you want.

I crochet quite tightly so you may need to play around with hook sizes to get the required hat size. My finished 0-1y hat is 6.5” wide and 7.5” tall and the finished 3-10y hat is 8.5″ wide and 9″ tall. That means you need a starting rectangle of around 14” x 6.5” for 0-1 years and 17″ x 8.5″ for 3-10 years.

To make your own braided pixie hat, you will need double knit yarn in the colour of your choice. You will also need a 4mm (0-1y) or 6mm (3-10y) crochet hook, a tape measure, a pair of scissors and a yarn needle.

Braided Pixie Hat (Free Crochet Pattern)

Main:

  • 1. ch62, hdc in 3rd ch from hook and across (60)
  • 2-21. ch2, turn, hdc in st at base of ch and across (60)
  • 22. fold in half lengthwise to make a bonnet shape, slip stitch the back together then bind off and turn the seam to the inside of the hat

Neck:

  • 1. with wrong side facing, join yarn in bottom corner st, ch1, sc in same st and each row across (42)
  • 2. ch1, turn, *sc in next 2sts, sc2tog*, repeat from *-* across to last 2sts, sc in last 2sts (32)
  • 3-4. ch1, turn, sc across (32)
  • 5. do not ch or turn, work a second sc in corner st, *sc in next st, sc2tog*, repeat from *-* across front to end, sc in same space as first st on neck, join with slst to first st on neck, bind off and weave in all ends

Braids:

  1. cut 12 lengths of yarn measuring 25-30″ each
  2. find the corner of the hat, at the front, and thread the 12 lengths through, hanging half of the length either side of the hole, so you end up with 24 strands of yarn
  3. braid the strands together in groups of 8
  4. tie off with a knot at the bottom and trim the ends
  5. repeat on the other side of the hat

I hope you enjoyed making this cute crochet pixie hat. I would love to see any hats you make using this pattern. Feel free to tag me on social media (@adeleuyancrochet) so I can see them! Or why not join our Facebook group to show off your creations. Happy crocheting.

Processing…
Success! You're on the list.