Now that the weather has started to cool down, I knew I wanted to make some cute pixie hats for my children to wear, and some to sell at market. I love these hats, especially for babies and toddlers because they are not as easy for them to get off and don’t fall off as easily as beanies, so I knew those little ears would be kept toasty and warm.
To make your own you will need about 50g of chunky yarn, I used Stylecraft Special Chunky, a 8mm crochet hook, some scissors, a 20mm button and a yarn needle. A fluffy pom pom is optional but adorable.
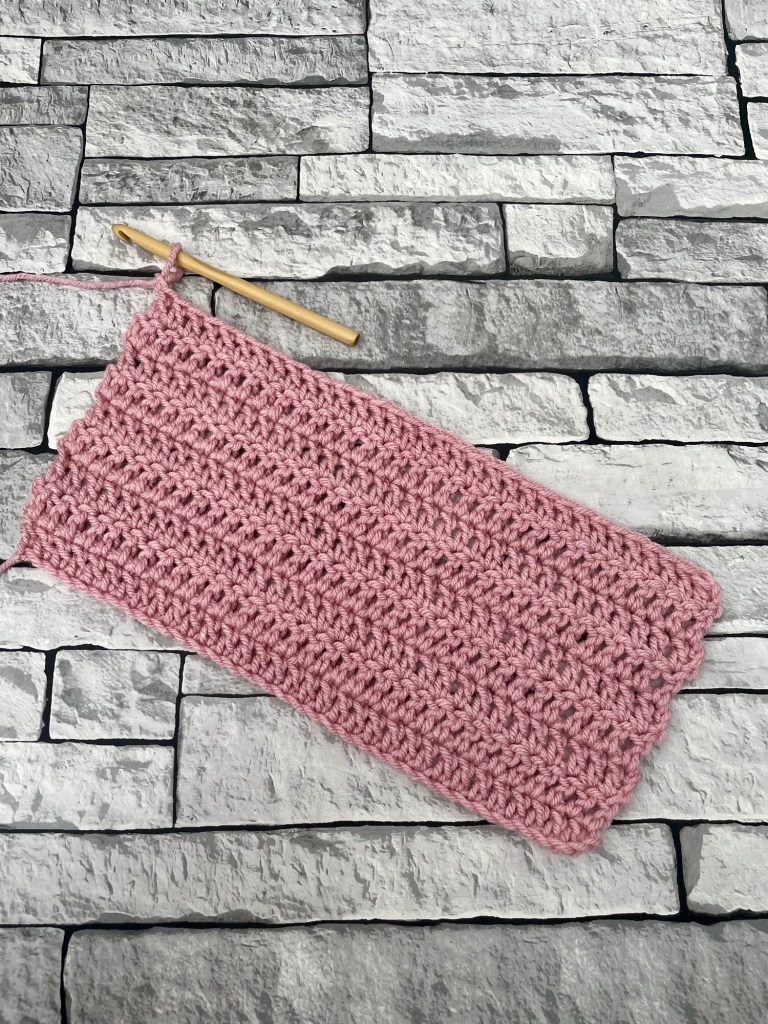
I crochet quite tightly so you may need to play around with hook sizes to get the required hat size. My finished hat is 6.5” wide and 7.5” tall which means you need a starting rectangle of around 14” x 6.5”.
Chunky Pixie Hat (3-24m)
Main:
- 1. ch35, dc in 3rd ch from hook and across (33)
- 2-9. ch2, turn, dc in st at base of ch and across (33)
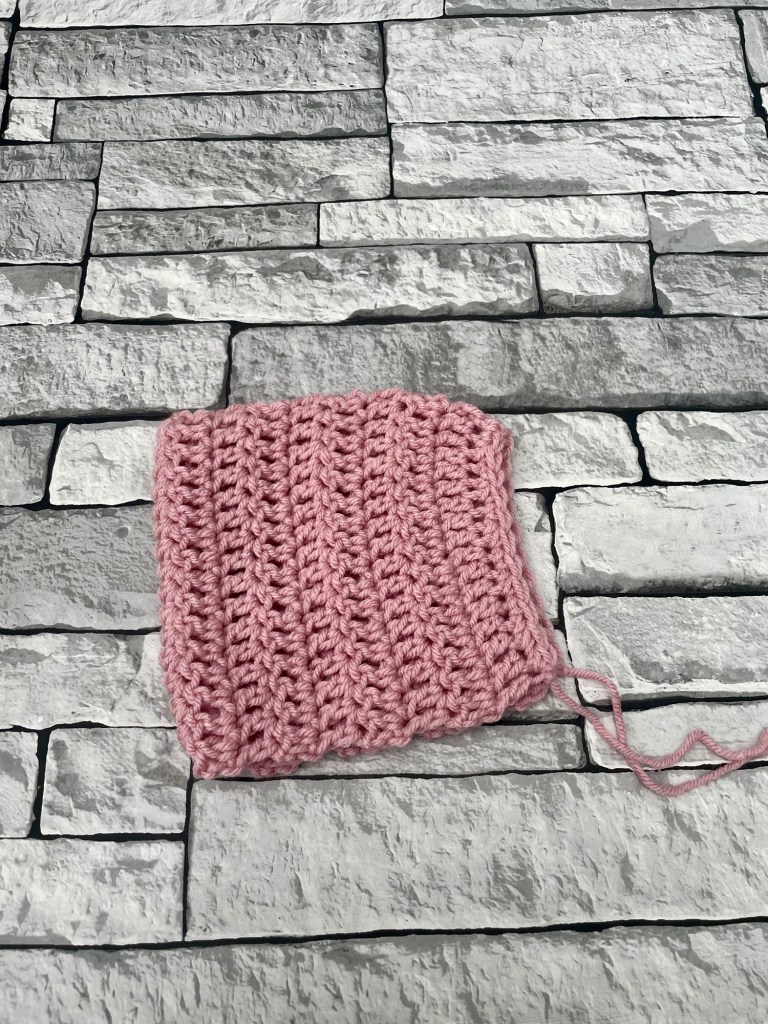
- 10. fold in half lengthwise with right sides together, to make a bonnet shape, slip stitch the back long seam together then bind off and turn the seam to the inside of the hat
- 11. with right side facing, join yarn in the first chain of the first row, ch1, sc in same st, sc2tog, *sc in next st, sc2tog*, repeat from *-* around to last st, bind off and weave in ends (22)
Neck:
- 1. with wrong side facing and top of hat pointing down, rejoin yarn in bottom corner st (first stitch of row 11), ch1, sc in st at base of ch and next st, sc in the end of the next 18 dc rows, sc in last 2sts (22)
- 2-3. ch1, turn, sc in st at base of ch and across (22)
- 4. ch1, do not turn, hdc in st at base of ch, ch1, hdc in same st
- 5-8. ch1, turn, (hdc, ch1, hdc) in previous rows chsp
- 9. ch1, sc in st at base of ch, sc in chsp, sc in last st, bind off
- 10. securely attach a button to the other side of the neck and weave in all your ends
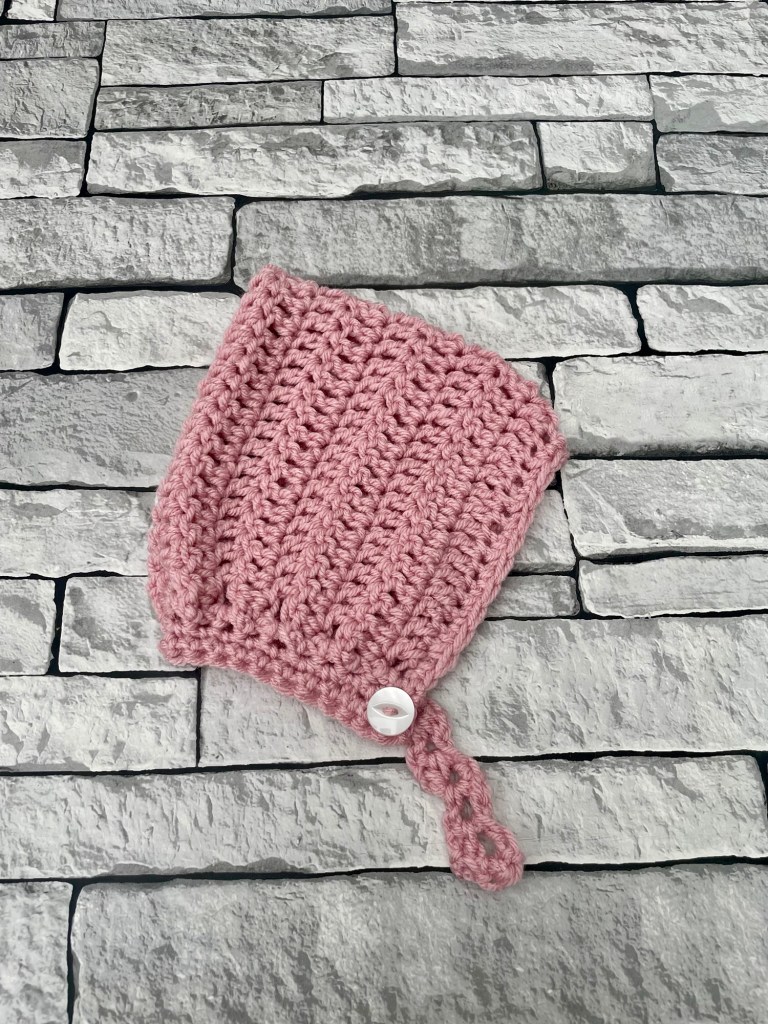
I hope you enjoy this free pattern. I would love to see if you make one so please feel free to share your pictures in my Facebook group, or tag me on social media (@adeleuyancrochet) so I can see.