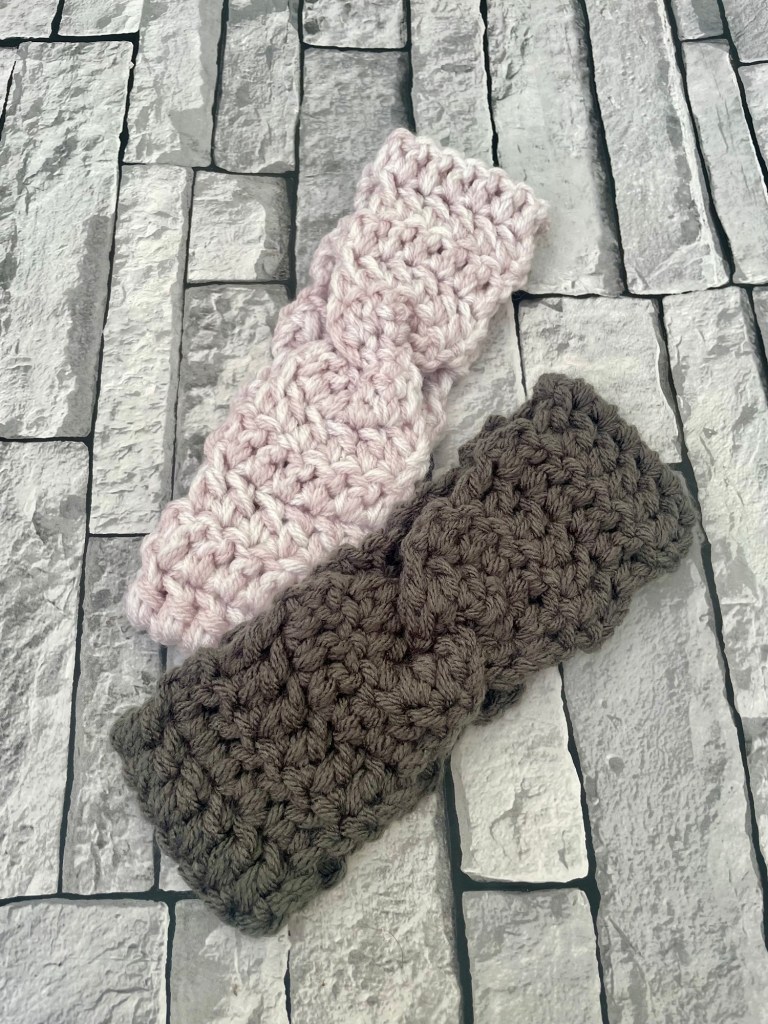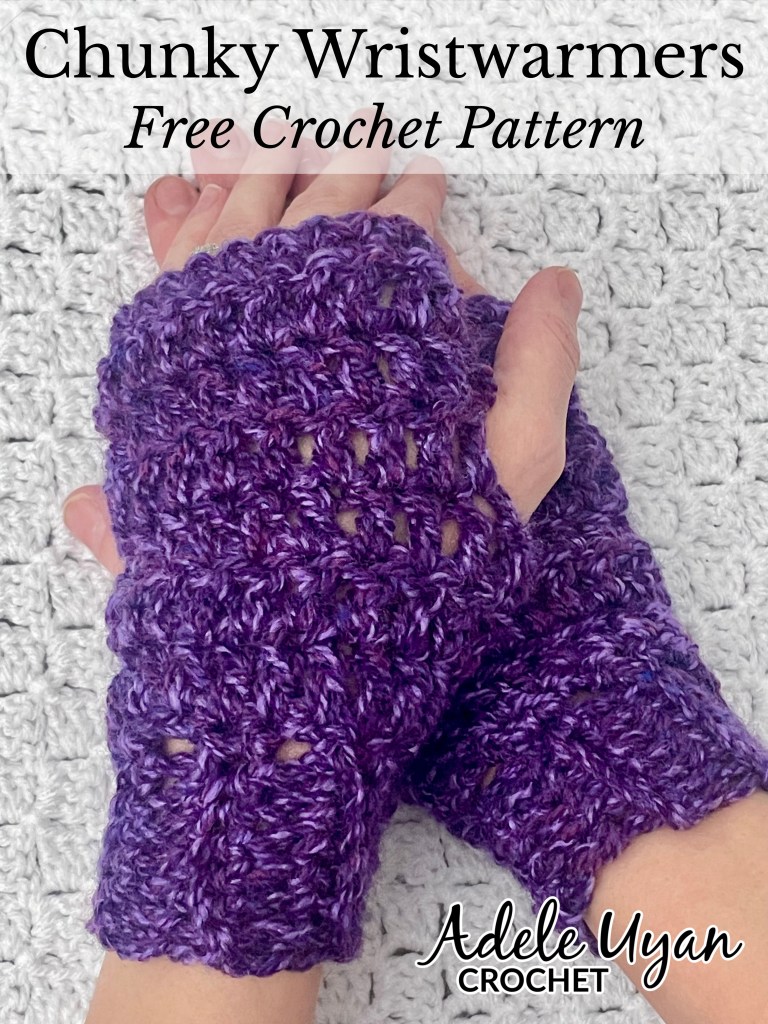
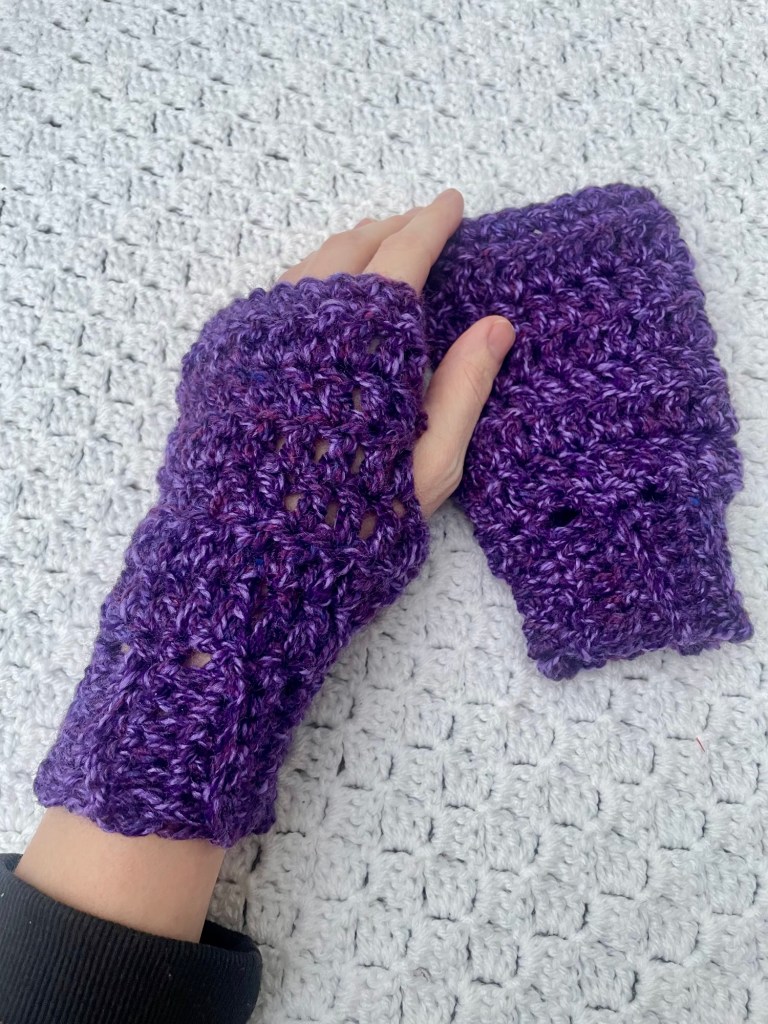
England is a winter wonderland at the minute after the recent snowstorm and I really feel the cold so I made myself a pair of wristwarmers to wear. I love how these can be worn by themselves or over a pair of thin gloves.
To make your own in size teen-adult, you will need a 8mm crochet hook, chunky yarn, scissors and a yarn needle.
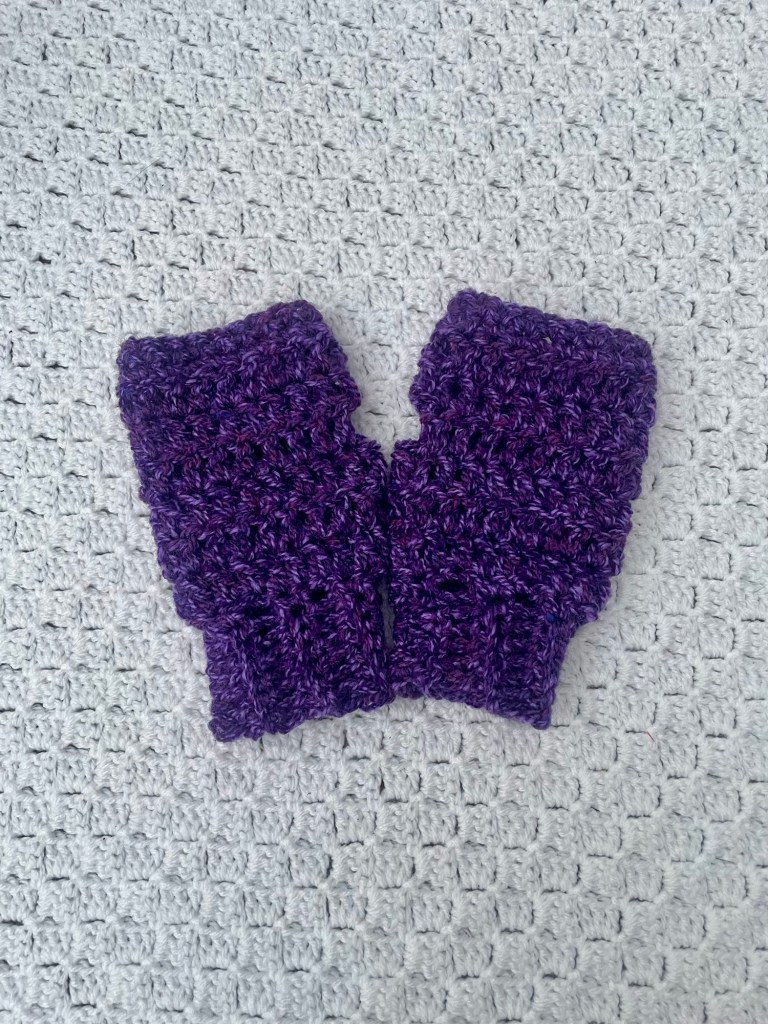
Chunky Crochet Wristwarmers
- 1. Ch8, sc in 2nd ch from hook and across (7)
- 2-12. Ch1, working in back loops only, sc in st at base of ch and across (7)
- 13. Slst to the first row to make a tube (this will leave the ribbing open, which will need to be stitched together at the end), ch1, turn, *sc in the side of the first sc row, 2scs in the side of the next sc row*, repeat around to end, join with slst in top of 1st sc (18)
- 14-16. Ch2, turn, dc in st at base of ch and around, join with slst in top of 1st dc (18)
- 17. Ch2, turn, dc in st at base of ch and around to last st, leave last st unworked, ch2, join with slst in top of 1st dc (17)
- 18. Ch2, turn, dc in st at base of ch, dc in chsp and each st around, join with slst in top of 1st dc (18)
- 19. Ch2, turn, dc in st at base of ch and around, join with slst in top of 1st dc (18)
- 20-21. Ch1, turn, sc in st at base of ch and around, join with slst in top of 1st sc (18)
- 22. Bind off and weave in ends
- 23. Turn inside out and stitch ribbing closed
Make another one and you have your own cute pair of wristwarmers!
I hope you enjoy this free pattern. I would love to see if you make it so please feel free to share your pictures in my Facebook group, or tag me on social media (@adeleuyancrochet) so I can see.