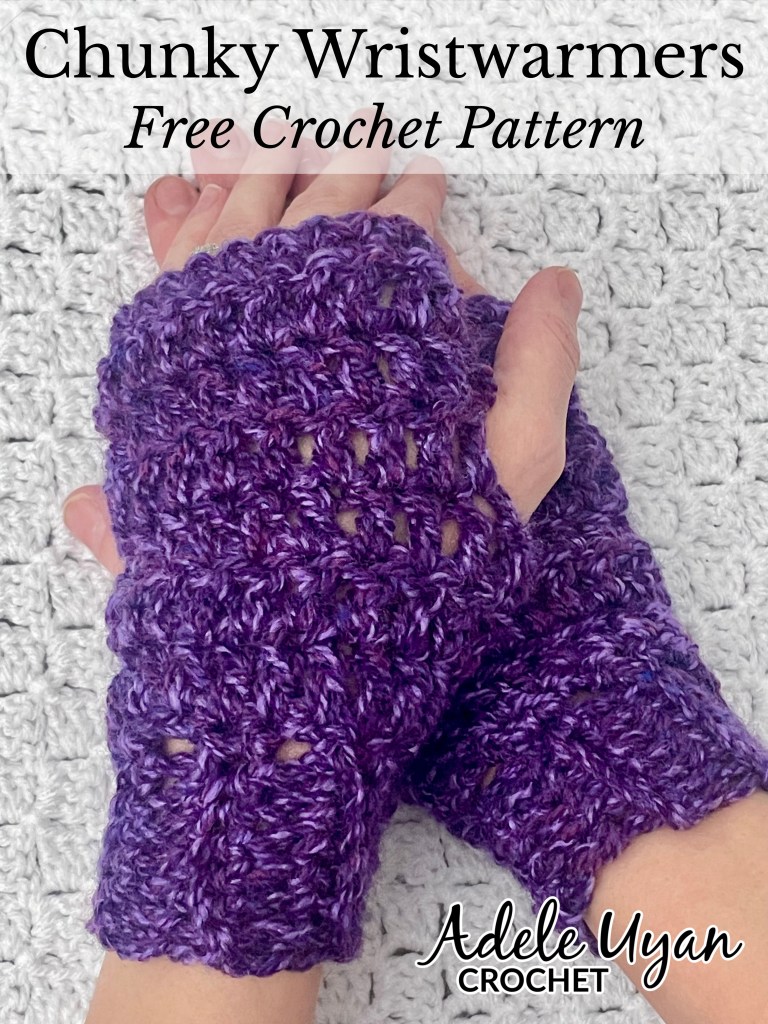
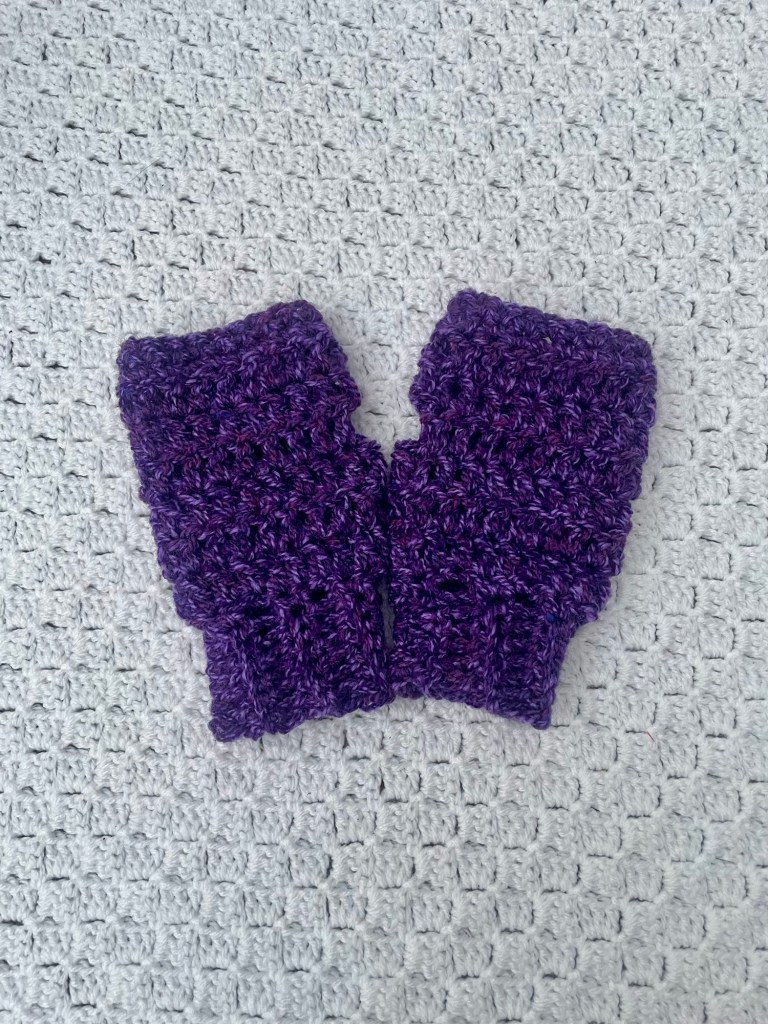
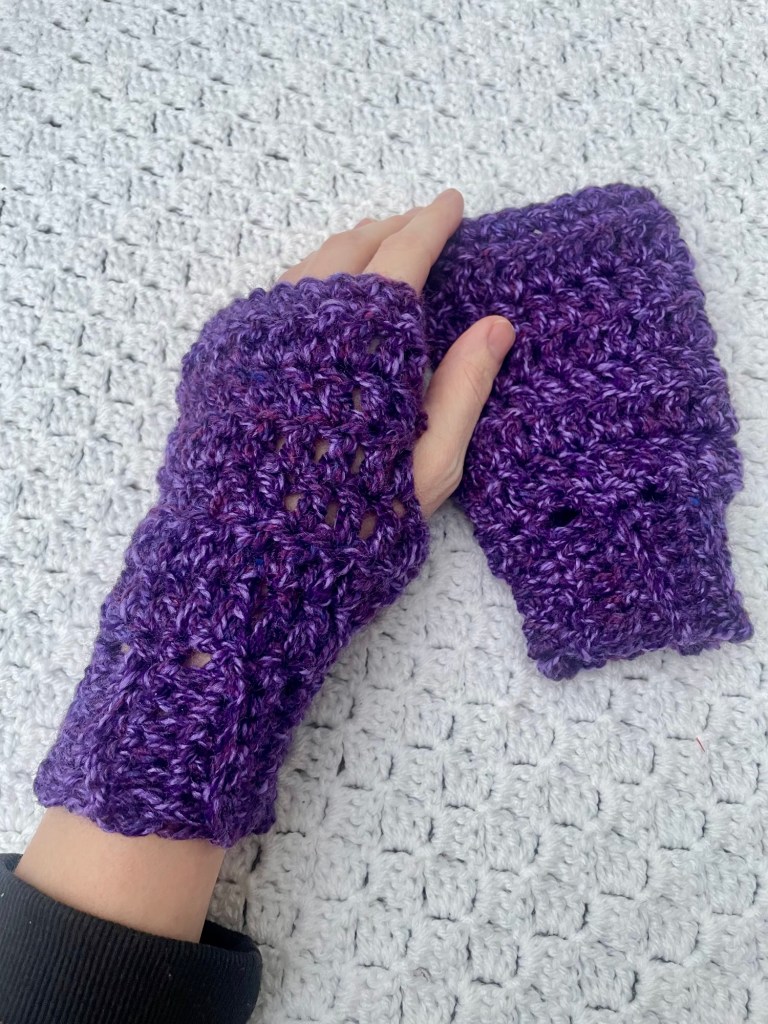
England is a winter wonderland at the minute after the recent snowstorm and I really feel the cold so I made myself a pair of wristwarmers to wear. I love how these can be worn by themselves or over a pair of thin gloves.
To make your own in size teen-adult, you will need a 8mm crochet hook, chunky yarn, scissors and a yarn needle.
Chunky Crochet Wristwarmers
1. Ch8, sc in 2nd ch from hook and across (7)
2-12. Ch1, working in back loops only, sc in st at base of ch and across (7)
13. Slst to the first row to make a tube (this will leave the ribbing open, which will need to be stitched together at the end), ch1, turn, *sc in the side of the first sc row, 2scs in the side of the next sc row*, repeat around to end, join with slst in top of 1st sc (18)
14-16. Ch2, turn, dc in st at base of ch and around, join with slst in top of 1st dc (18)
17. Ch2, turn, dc in st at base of ch and around to last st, leave last st unworked, ch2, join with slst in top of 1st dc (17)
18. Ch2, turn, dc in st at base of ch, dc in chsp and each st around, join with slst in top of 1st dc (18)
19. Ch2, turn, dc in st at base of ch and around, join with slst in top of 1st dc (18)
20-21. Ch1, turn, sc in st at base of ch and around, join with slst in top of 1st sc (18)
22. Bind off and weave in ends
23. Turn inside out and stitch ribbing closed
Make another one and you have your own cute pair of wristwarmers!
I hope you enjoy this free pattern. I would love to see if you make it so please feel free to share your pictures in my Facebook group, or tag me on social media (@adeleuyancrochet) so I can see.
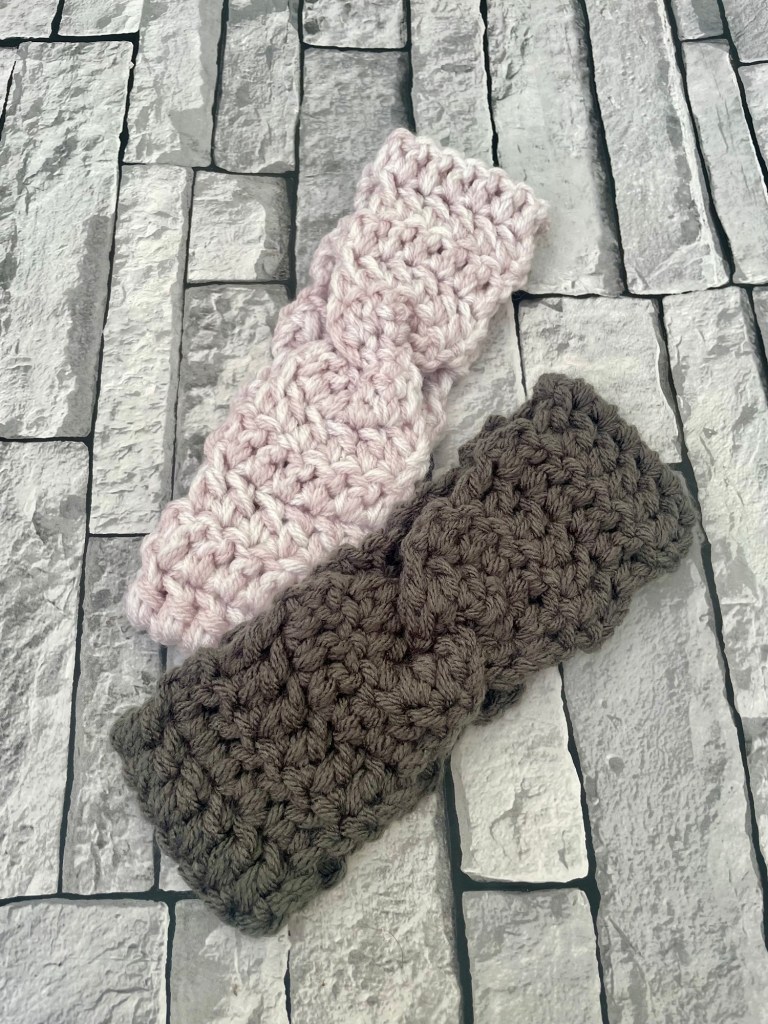
I love making headband earwarmers to keep our ears nice and cozy when winter starts to hit and the temperature drops. The Twisted Headband Earwarmer is so easy and quick to make but looks harder than it is because of the twist in the top. The full PDF pattern has instructions for five sizes to fit from newborn to adult and is now available on my Etsy shop, but I wanted to share the teen to adult size here aswell.
To make your own, you will need about 25g double knit (light worsted) yarn, an 8mm crochet hook, some scissors and a yarn needle. I used two strands of the double knit yarn held together throughout the pattern but you could substitute for chunky yarn if you prefer.
Teen-Adult (to fit a head circumference of approx 22-23”)
1. Ch10, dc in 3rd ch from hook and in each ch across to end (8)
2-26. Ch2, turn, dc in st at base of ch and in each st across to end (8)
27. Bind off, leaving a long enough tail to stitch the two short edges together
FINISHING: Fold the two short edges in half then layer together (as shown in the video above) and stitch closed, bind off then make sure all of your ends are weaved in
I hope you enjoy this crochet pattern. I would love to see if you make one so please feel free to share your pictures in my Facebook group, or tag me on social media (@adeleuyancrochet) so I can see. The full pattern can be found in my Etsy shop.
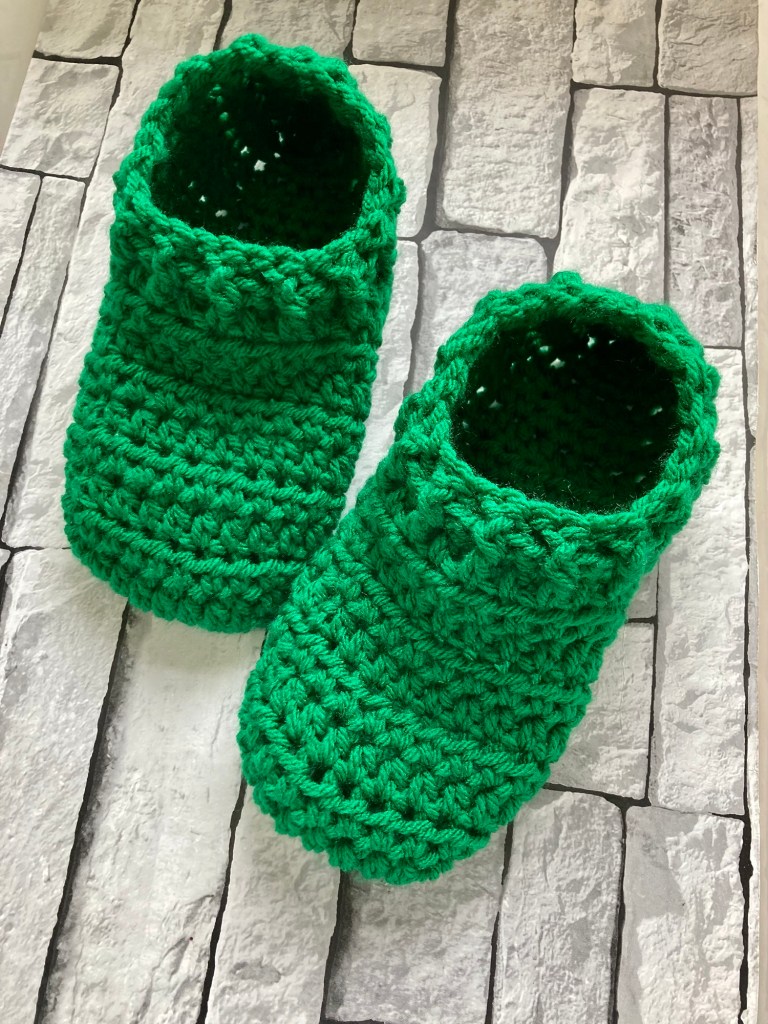
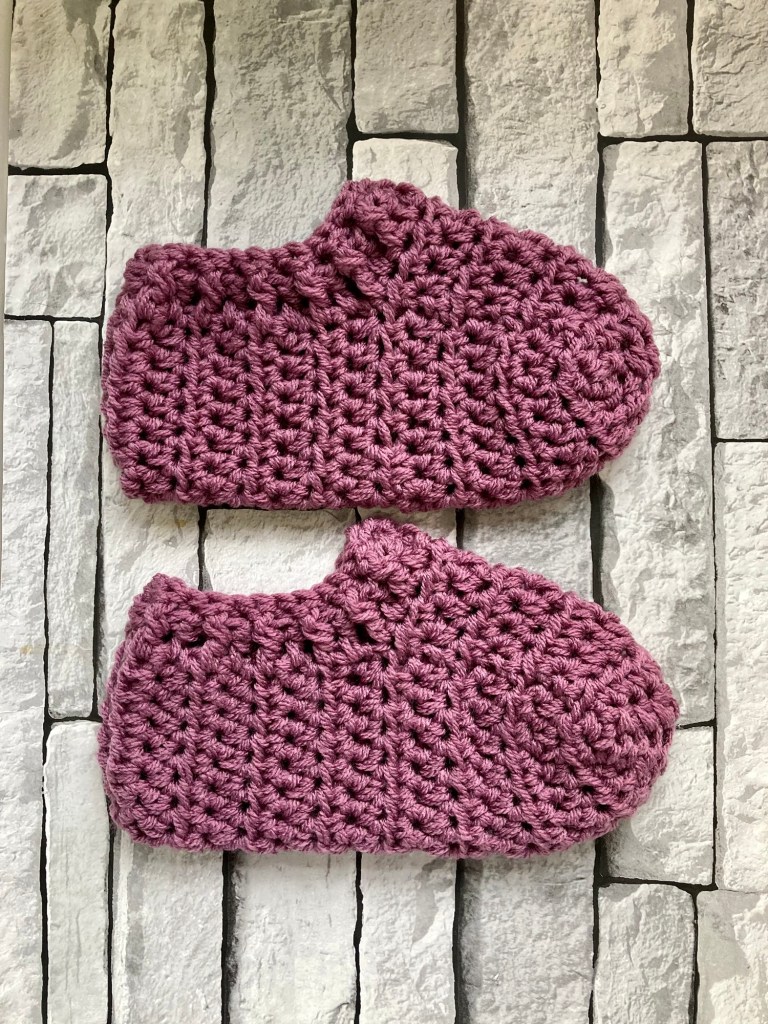
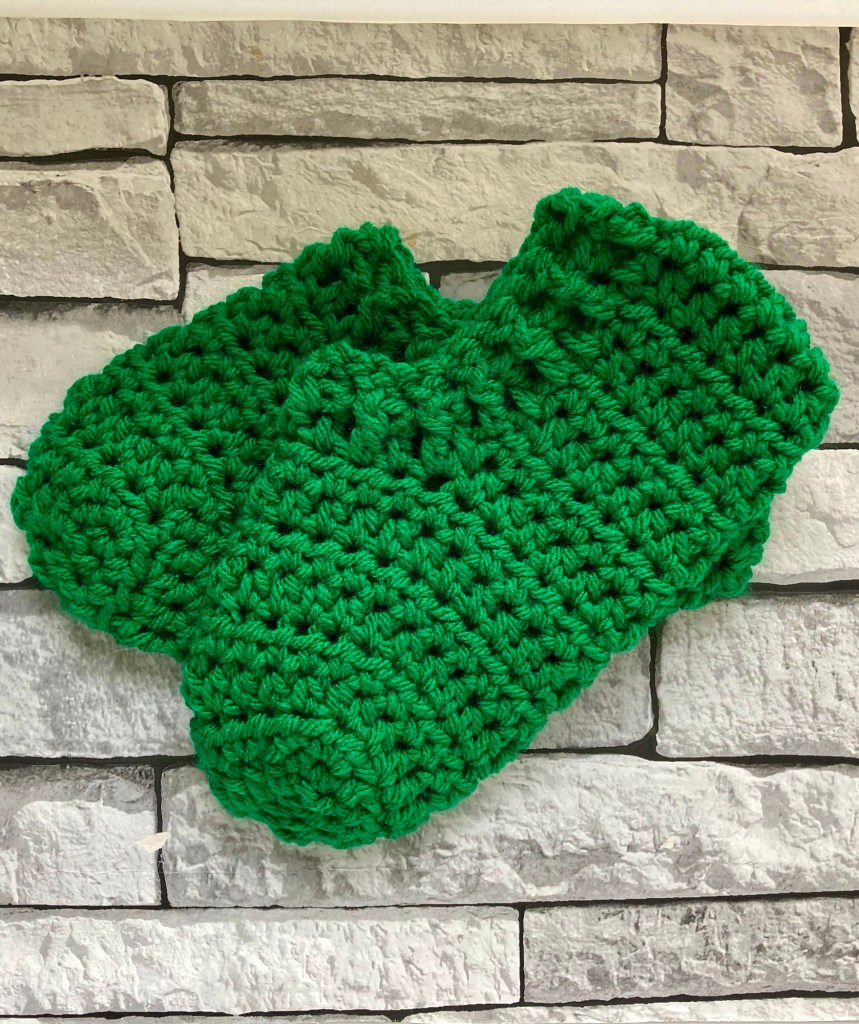
I love to make these slipper socks to give as gifts because they work up quickly with the chunky yarn and they are really warm and cosy for winter. I made this green pair for myself and I am really loving wearing them now the temperatures have dropped. To make your own you will need a 6.5mm crochet hook, 7.5mm crochet hook, chunky yarn, scissors and a yarn needle. This size will fit a UK ladies size 7/8.
Chunky Slipper Socks (Free Crochet Pattern)
SLIPPER (make 2)
With 7.5mm hook and chunky yarn –
1. Ch10, 2hdcs in 2nd ch from hook, hdc in next 7sts, 2hdcs in last st, working on opposite side of chain, hdc in next 7sts, join with slst in top of 1st hdc (18)
2. Ch1, turn, hdc in st at base of ch and next 7sts, 2hdcs in next st, hdc in next 8sts, 2hdcs in next st, join with slst in top of 1st hdc (20)
3. Ch1, turn, hdc in st at base of ch, 2hdcs in next st, hdc in next 9sts, 2hdcs in next st, hdc in next 8sts, join with slst in top of 1st hdc (22)
4-8. Ch1, turn, hdc in st at base of ch and around, join with slst in top of 1st hdc (22)
9. Ch1, turn, hdc in st at base of ch and next 14sts (15)
10-16. Ch1, turn, hdc in st at base of ch and across (15)
17. Fold the back row with right sides together then stitch together with slst to form the back seam, bind off and weave in ends
RIBBING
With 6.5mm hook and chunky yarn –
1. with right side facing, join yarn at back seam, ch2, dc in st at base of chain and evenly around slipper opening, join with slst in top of 1st dc (26)
2. ch2, turn, fpdc around 1st st of previous row, *bpdc around next st of previous row, fpdc around next st of previous row*, repeat from *-* to end, bind off and weave in ends
I hope you enjoy this free Christmas crochet pattern. I would love to see if you make one so please feel free to share your pictures in my Facebook group, or tag me on social media (@adeleuyancrochet) so I can see.
Am I the only one who gets absolutely freezing in the slightest bit of cold weather and really needs something to keep me as warm as possible outside? I made this hat to help keep my family toasty and warm this winter, and it is lovely and thick and cosy so it really does keep those little (and big) ears warm. It’s an added bonus that the hat can be made different colours on the inside and the outside, giving two different looks in one hat.
The reversible beanie hat pattern is sized to fit newborn to adult, and is made using double knit yarn. To make this pattern, you will need between 50g and 100g double knit yarn, a tape measure, a pair of scissors and a yarn needle. Each size uses a different crochet hook, varying from 3.5mm to 4.5mm. If you would like to know which crochet hook is required for your particular size, feel free to message me and I will check for you before you buy.
This pattern is written using American terminology, and is suitable for beginners. Basic knowledge of crochet is expected, but photo instructions are provided for some stitches.
This pattern is now available in my Etsy shop, along with my other PDF crochet patterns and a few things I have handmade to sell. I would love for you to join us in my Facebook group to see more pictures, get feedback and ask any questions you may have.
Processing…
Success! You're on the list.
Whoops! There was an error and we couldn't process your subscription. Please reload the page and try again.
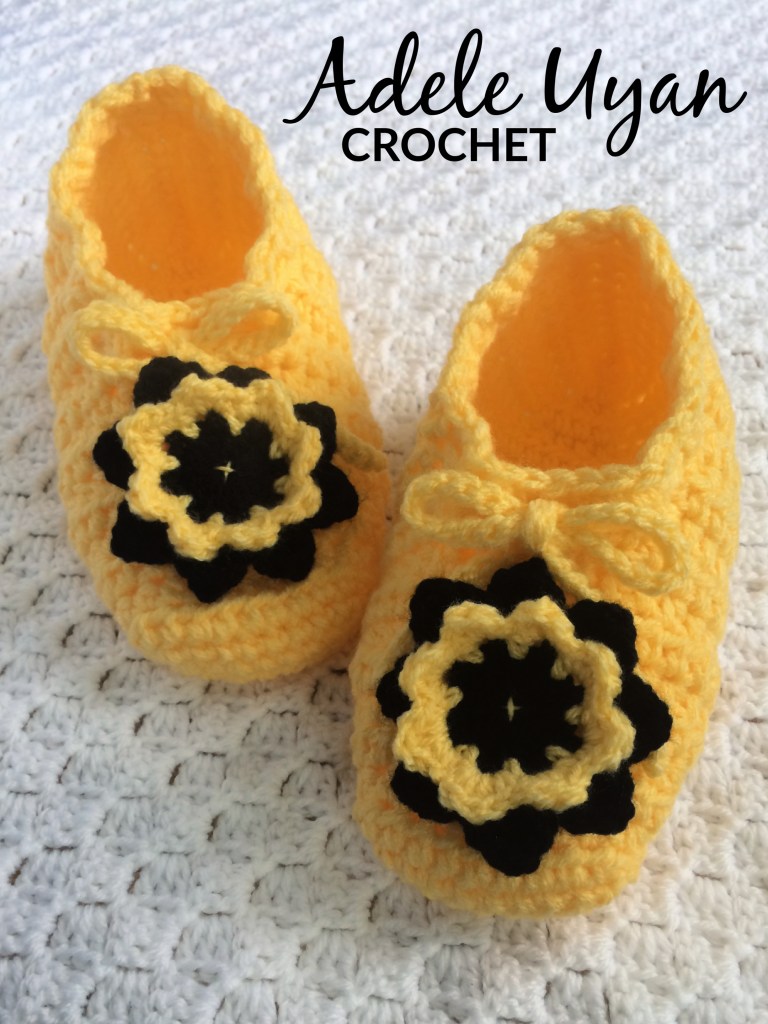
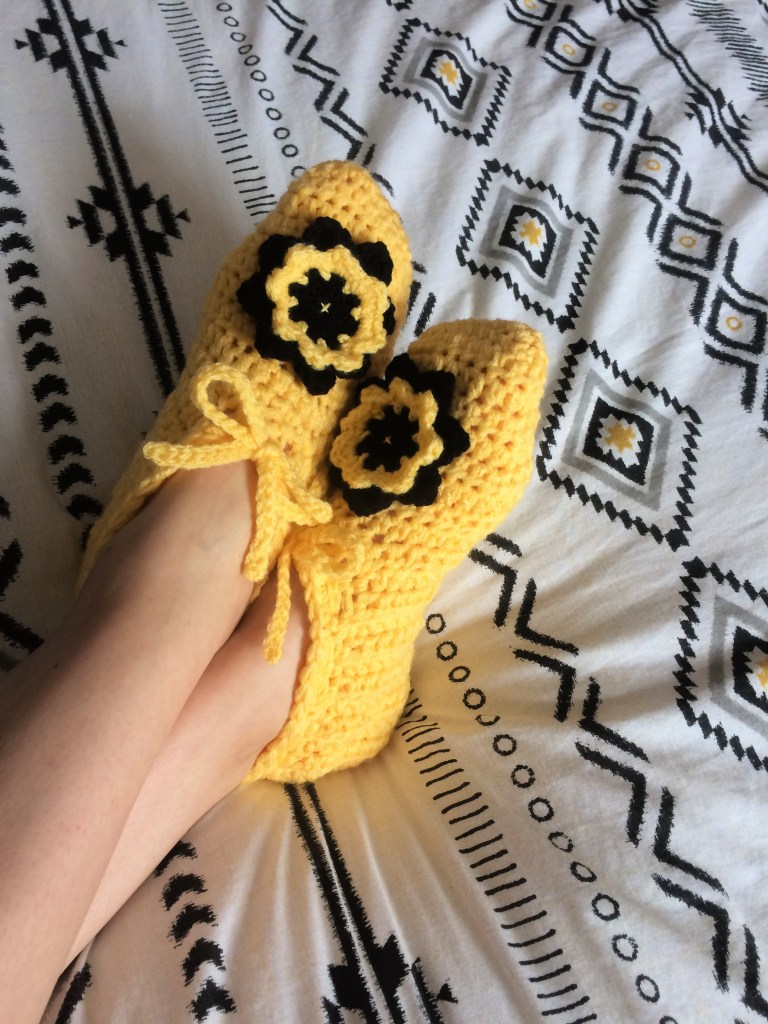
Whenever I get the urge to crochet something, I usually prefer to make something quick and easy. Because of that, I tend to crochet more for babies and children than I do for adults. This week I needed a quick crochet project to give as a gift and I racked my brains to think of something I could make to gift to an adult. I finally remembered some slippers I had made a few years ago, and luckily I had written the pattern down! They are very quick and very easy so perfect for someone like me. I love that they fit so many different sizes aswell so one pattern is all you need to make slippers for most adults. This pattern makes slippers that will fit from a UK size 4 to a UK size 7 (I think that is 6.5 to 9.5 in American shoe sizes and 37 to 40 in European shoe sizes).
To make your own slippers, you will need a 3mm crochet hook, a 5mm crochet hook, some double knit yarn, a tape measure, a pair of scissors and a yarn needle.
Crochet Slippers (Free Pattern)
Toe:
With 5mm hook and two strands DK yarn held together –
1. ch10, 2scs in 2nd ch from hook, sc in next 7sts, 2scs in last st, turn the work to crochet up the other side of the foundation chain, sc in next 7sts, join with slst in top of 1st sc (18)
2. ch1, turn, hdc in next 8sts, 2hdcs in next st, hdc in next 8sts, 2hdcs in next st, join with slst in top of 1st hdc (20)
3. ch1, turn, hdc in next st, 2hdcs in next st, hdc in next 9sts, 2hdcs in next st, hdc in next 8sts, join with slst in top of 1st hdc (22)
4. ch1, turn, hdc in next 10sts, 2hdcs in next st, hdc in next 10sts, 2hdcs in next st, join with slst in top of 1st hdc (24)
5. ch1, turn, hdc in next st, 2hdcs in next st, hdc in next 11sts, 2hdcs in next st, hdc in next 10sts, join with slst in top of 1st hdc (26)
6. ch1, turn, hdc in next 11sts, 2hdcs in next st, hdc in next 12sts, 2hdcs in next st, hdc in next st, join with slst in top of 1st hdc (28)
7-9. ch1, turn, hdc in each st around, join with slst in top of 1st hdc (28)
10. bind off
Foot:
1. with wrong side facing, skip st at base of bind off st then count 7sts to the right, join yarn, ch1, hdc in same st and next 22sts (23)
2-13. ch1, turn, hdc in each st across (23)
14. bind off, leaving a long tail, fold the back with right sides together and stitch together to form the heel
Finishing:
1. with right side facing, join yarn at the back seam, ch1, sc in same st and evenly around, join with slst in top of 1st sc (33)
2. ch1, turn, sc in same st, ch2, sk1st, *sc in next st, ch2, sk1st*, repeat from *-* around to end, sc in last st, ch2, join with slst in top of 1st sc
3. ch1, turn, sc in each chsp and st around, join with slst in top of 1st sc (33)
4. bind off and weave in ends
Tie:
With 5mm hook and one strand DK yarn –
1. ch100, sc in 2nd ch from hook and across, bind off and weave in ends (99)
2. thread through the holes made in the top of the slipper and tie off in a bow
Flower:
With 3mm hook and one strand DK yarn –
1. with contrasting yarn, make a magic loop, ch2, work 16 dcs into loop, join with slst in top of 1st dc (16)
2. ch1, do not turn, sc in same st, *ch4, sk 1st, sc in next st*, rep *-* until last st, ch4, join with slst in top of 1st sc
3. ch1, do not turn, *work sc, hdc, dc, trc, dc, hdc, sc, all into one chain space*, rep *-* around, join with a slst in top of 1st sc, bind off
4. join main yarn in one of the skipped stitches on round 2, ch1, sc in same st, *ch3, sc in next skipped stitch*, rep from *-* around, ch3, join with slst in top of 1st sc
5. ch1, do not turn, *work sc, hdc, dc, hdc, sc, all into one chain space*, rep *-* around, join with slst in top of 1st sc, bind off, weave in ends then stitch to front of slipper
I hope you found this pattern useful and make lots of pairs of pretty slippers. If you make anything using one of my patterns, I would love to see it. You can tag me on social media (@adeleuyancrochet) or why not join our Facebook group to show off your creations.
Processing…
Success! You're on the list.
Whoops! There was an error and we couldn't process your subscription. Please reload the page and try again.